RV interiors are pretty basic, to say the least.
They come decorated with natural colors and fabrics that can withstand heavy use and appeal to “the general buyer.” But once you’ve purchased an RV, it’s time to make it your own. Add some color and variety to the interior by doing a little makeover this spring. It doesn’t need to be expensive or intensive. These four easy DIY projects can be done by any RVer with a crafty streak, and the results will transform your RV into a modern, beautiful space you’ll be happy to call home.
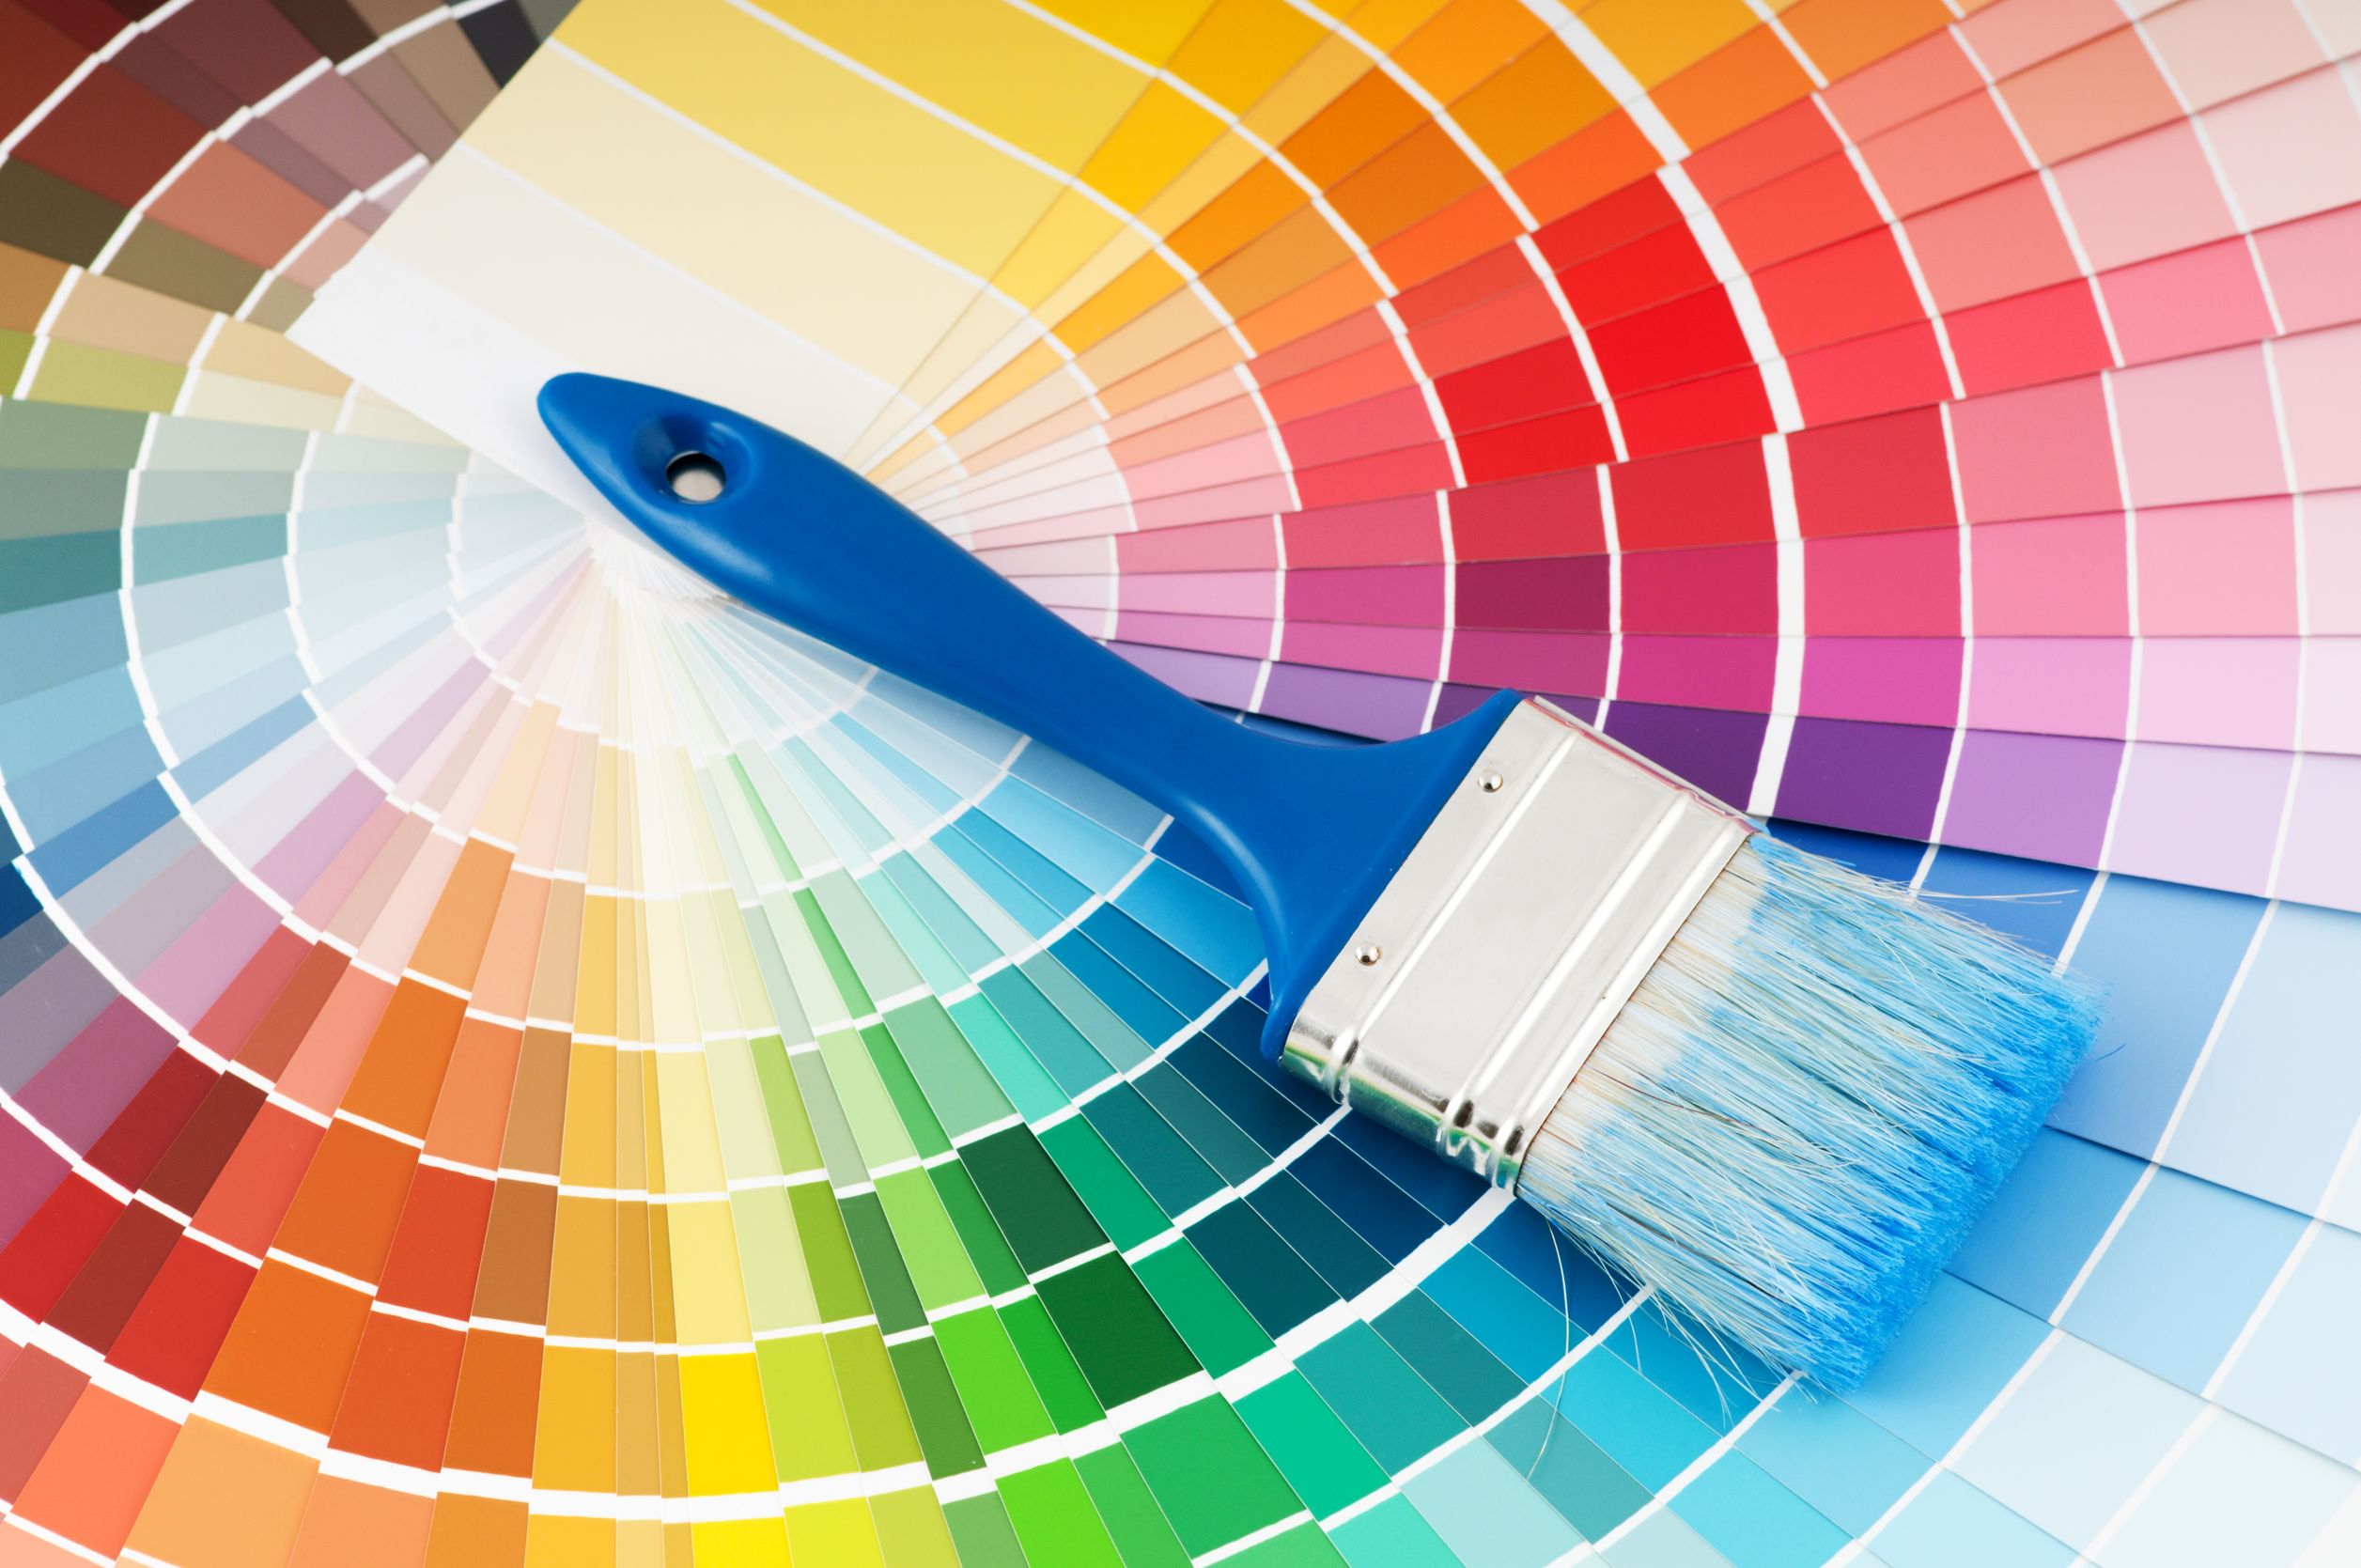
- Change the walls. Paint is one of the biggest, most economical tricks in the book when it comes to transforming a room in a house. The same goes for your RV. Cover dark areas with light colored paint to add some airiness and visual interest. Paint over outdated wallpaper or choose to recover it with a new print. Before you begin, have a clear idea in your mind about what you want the interior of your RV to look like. Stick to a color scheme, whether it’s blue, grey, and yellow or light green, beige, and coral (hey, these are just suggestions!). Research paint brands that will work well in your RV. One such brand is Beyond Paint, which covers practically anything (available at Home Depot). You can add a backsplash to your kitchen or bathroom. Just be careful of the weight and of the material. Ceramic or glass tiles are heavy and fragile and require grout, not very good choices for an RV in motion. One of the best options is installing peel and stick tiles, which are light, flexible, and guaranteed to stick no matter the climate (hot or cold or humid). The best part, you can easily replace and redecorate later on if you want a change!
- Add some window flare. Take down those factory curtains with the outdated, bland prints and add a little of your own personality. Choose a fabric that suites your style – loud and bold or soft and sweet? – and is heavy enough to ward off drafts and keep out sunlight (depending on the room). If you are not a sewer, you can still make curtains with minimal effort, such as by using peel n’ stick fabric fuse permanent adhesive tape and a hot glue gun. Use clips to hang your curtains to avoid having to use a rod. You can also recover the cornice boards in the same or complementary fabric. Simply remove the cornice boards and place it on the fabric. Then, it’s like wrapping a present. Keep the fabric as tight as possible. Use hot glue to make the fabric stay in place. Since it’s behind the board, your handiwork will never be seen. If you need more step-by-step guidance, check out YouTube for DIY videos to help you through the process.
- Make your dining table a conversation piece. A lot of life centers around the family table. In an RV, it’s not just an eating surface, it’s where you play cards and games, do the bills, and work from your laptop. It doesn’t need to stay brown or beige, or even the same material. You can cover an existing table with maps (use decoupage glue) or stick-on wall decals, and then paint over it with a food-safe, non-toxic acrylic finish. You can also replace the table altogether by building your own using old pallet boards, staining them or oiling them, then covering them with a food-safe, non-toxic finish. Just make sure to secure it again to the wall.
- Recover the upholstery. This is a fairly simple project, even though it may seem daunting at first thought. You don’t need to add new filling; you just need to change the exterior appearance. Staples, Velcro, safety pins, and a hot glue gun are handy things to have to help you update your upholstery without having to break out the sewing machine. In some articles, DIYers paint over the old fabric white (so that it won’t show through) and then recover with a new fabric. Again, YouTube has an abundance of videos to help you recover your chairs, dinette cushions, and sofas.