Sunny days. Chirping birds. Melting snow. Warmer breezes. There are a lot of reasons to celebrate the coming of spring. Apart from the changes in the weather and wildlife, spring means it’s time to wake the RV out of its winter hibernation and spruce it up in preparation for the upcoming season. Follow these steps to get the RV ready this spring.
Open up the RV. After being closed up for several months, start with opening the windows, vents, and doors to the RV to get the stale air out and the fresh air in. Open all of the slide-outs. Leave the RV open for a while. As it’s airing out, clean the RV cover (if you have one) by giving it a thorough wash and then laying it out to dry in the spring sun.
Clean the exterior. Once the RV has had a chance to air out for a while, close the windows and vents and doors so that you can give your RV a much-needed bath. Even if you kept your RV in covered storage, and used a breathable cover of some kind to help protect the surface, there will probably still be some debris, dirt, dust, etc., on the roof.
Also, if you didn’t give your RV a good exterior cleaning before putting it into storage, especially if you put it into storage later in the season when the weather was colder, you’ll need to make up for lost time. First, check all the window and vent seals for any cracking or fading; you don’t want water leaking in. Start from the roof and work your way down – spraying with water only to start. Then, it’s time for some soap. Only use a product that is intended for RV materials, and use sponges, brushes, or cloths that won’t scratch the finish. Wax if you have time or inclination. Get into the wheel wells, too, and around all the windows. Afterwards, check the interior for leaks that may have come to light during the exterior cleaning.
Clean the interior. Open cabinets and cupboards and wipe them down. Check all cabinets and cupboards for signs of pests even if they were carefully cleaned in the fall, as dealing with any mouse or bug infestations can cause a big cleanup you weren’t planning on. Wipe down and disinfect all surfaces, using a food-grade surface cleaner. Get out the shop vac and vacuum down all soft surfaces as well as the floor. Take out any old food or linens that may have accidentally been left in the camper during winter storage (though it should have all been cleaned out well before storage to reduce the risk of pests). Open appliances such as fridges and microwaves to let them air out and wipe them down with water and dish soap.
Flush out and sanitize the water system. Before you put the RV into storage, if you live in a colder climate such as Michigan, you probably added non-toxic RV antifreeze to the system to prevent the pipes from freezing. “Non-toxic” is important to note, as regular antifreeze is highly toxic to people and animals. If regular antifreeze is used, it cannot be flushed onto the ground and will require a lot more flushing to make the RV safe for use. First, add potable water back into the fresh water tank, or use a garden hose or city water supply. Turn on the water pump, open all faucets (including showers), and allow the water to run for several minutes. While this is going on, flush the toilet several times. Once the water comes out clear, close the faucets and turn off the pump. Replace water filters following this procedure.
Once the system is flushed out, take the proper steps to sanitize it: Close all drains; add one-quarter cup of household bleach to every 15 gallons of water that can be held by your fresh water tank; pour the bleach into a one-gallon container and fill the rest of the container with water; add the mixture to the fresh water tank; fill the fresh water tank entirely with potable water; turn on the water pump and open faucets; run the water until you can smell the bleach and then close the faucets; let it sit for 12 hours; drain the water from the system; refill the fresh water tank; flush the system and allow the water to run until you can no longer smell the bleach.
Check and test. Now it’s time to make sure everything still works. Check any and all appliances such as refrigerators. Check on the furnace function, taking care to clean around it prior to firing it up. Check air conditioning functionality. Take a look at the smoke and carbon monoxide detectors – add brand new batteries so that there’s no question of their ability to work.
Check the charge of your RV battery with a voltmeter when it’s not hooked up to electricity. If it’s low, you’ll need to charge the battery before taking any trips. Prior to charging the battery, however, check the water level in the battery and add more distilled water if necessary. If your RV has an onboard generator, check the oil level and inspect the exhaust system for damage before turning on the generator and running it for a few hours at half-load. If there are surges or it won’t start, it needs to be inspected and repaired.
Inspect the engine and check all engine-related fluid levels and adjust as necessary. Try all the lights, signals, and brakes to ensure bulbs are in good working order. Verify that all dashboard readings on the gauges are accurate. If there’s a service light, now’s the time to get it fixed by a certified mechanic.
To ensure all of these checks and tasks take place, it’s a good idea to make a list at which to refer, and check off items as you accomplish them.
Check tire health. Your RV’s tires will lose air pressure during its time in storage, especially if stored outside or someplace cold. Driving with underinflated tires can lead to poor handling, uneven wear, or a blowout. Check the air pressure of each tire with a tire pressure gauge and re-inflate to the manufacturer’s recommended amount. Look for signs of wear as well, and replace any tires that show worn down treads or cracks in the sidewalls. This article has more details about managing the health of your tires.
Update paperwork. Insurance is renewed each year and updated paperwork should be placed with other important RV documentation. As for registration, it depends on your RV. According to the Michigan Secretary of State: “Trailers and trailer coaches (for example, pop-up campers, fifth wheels and travel trailers) must be registered with a permanent trailer plate, which isn’t renewed. Registration fees are determined by the trailer’s empty weight. Trailer coaches and pickup campers must be titled. Also, trailers that weigh 2,500 pounds or more must be titled.”
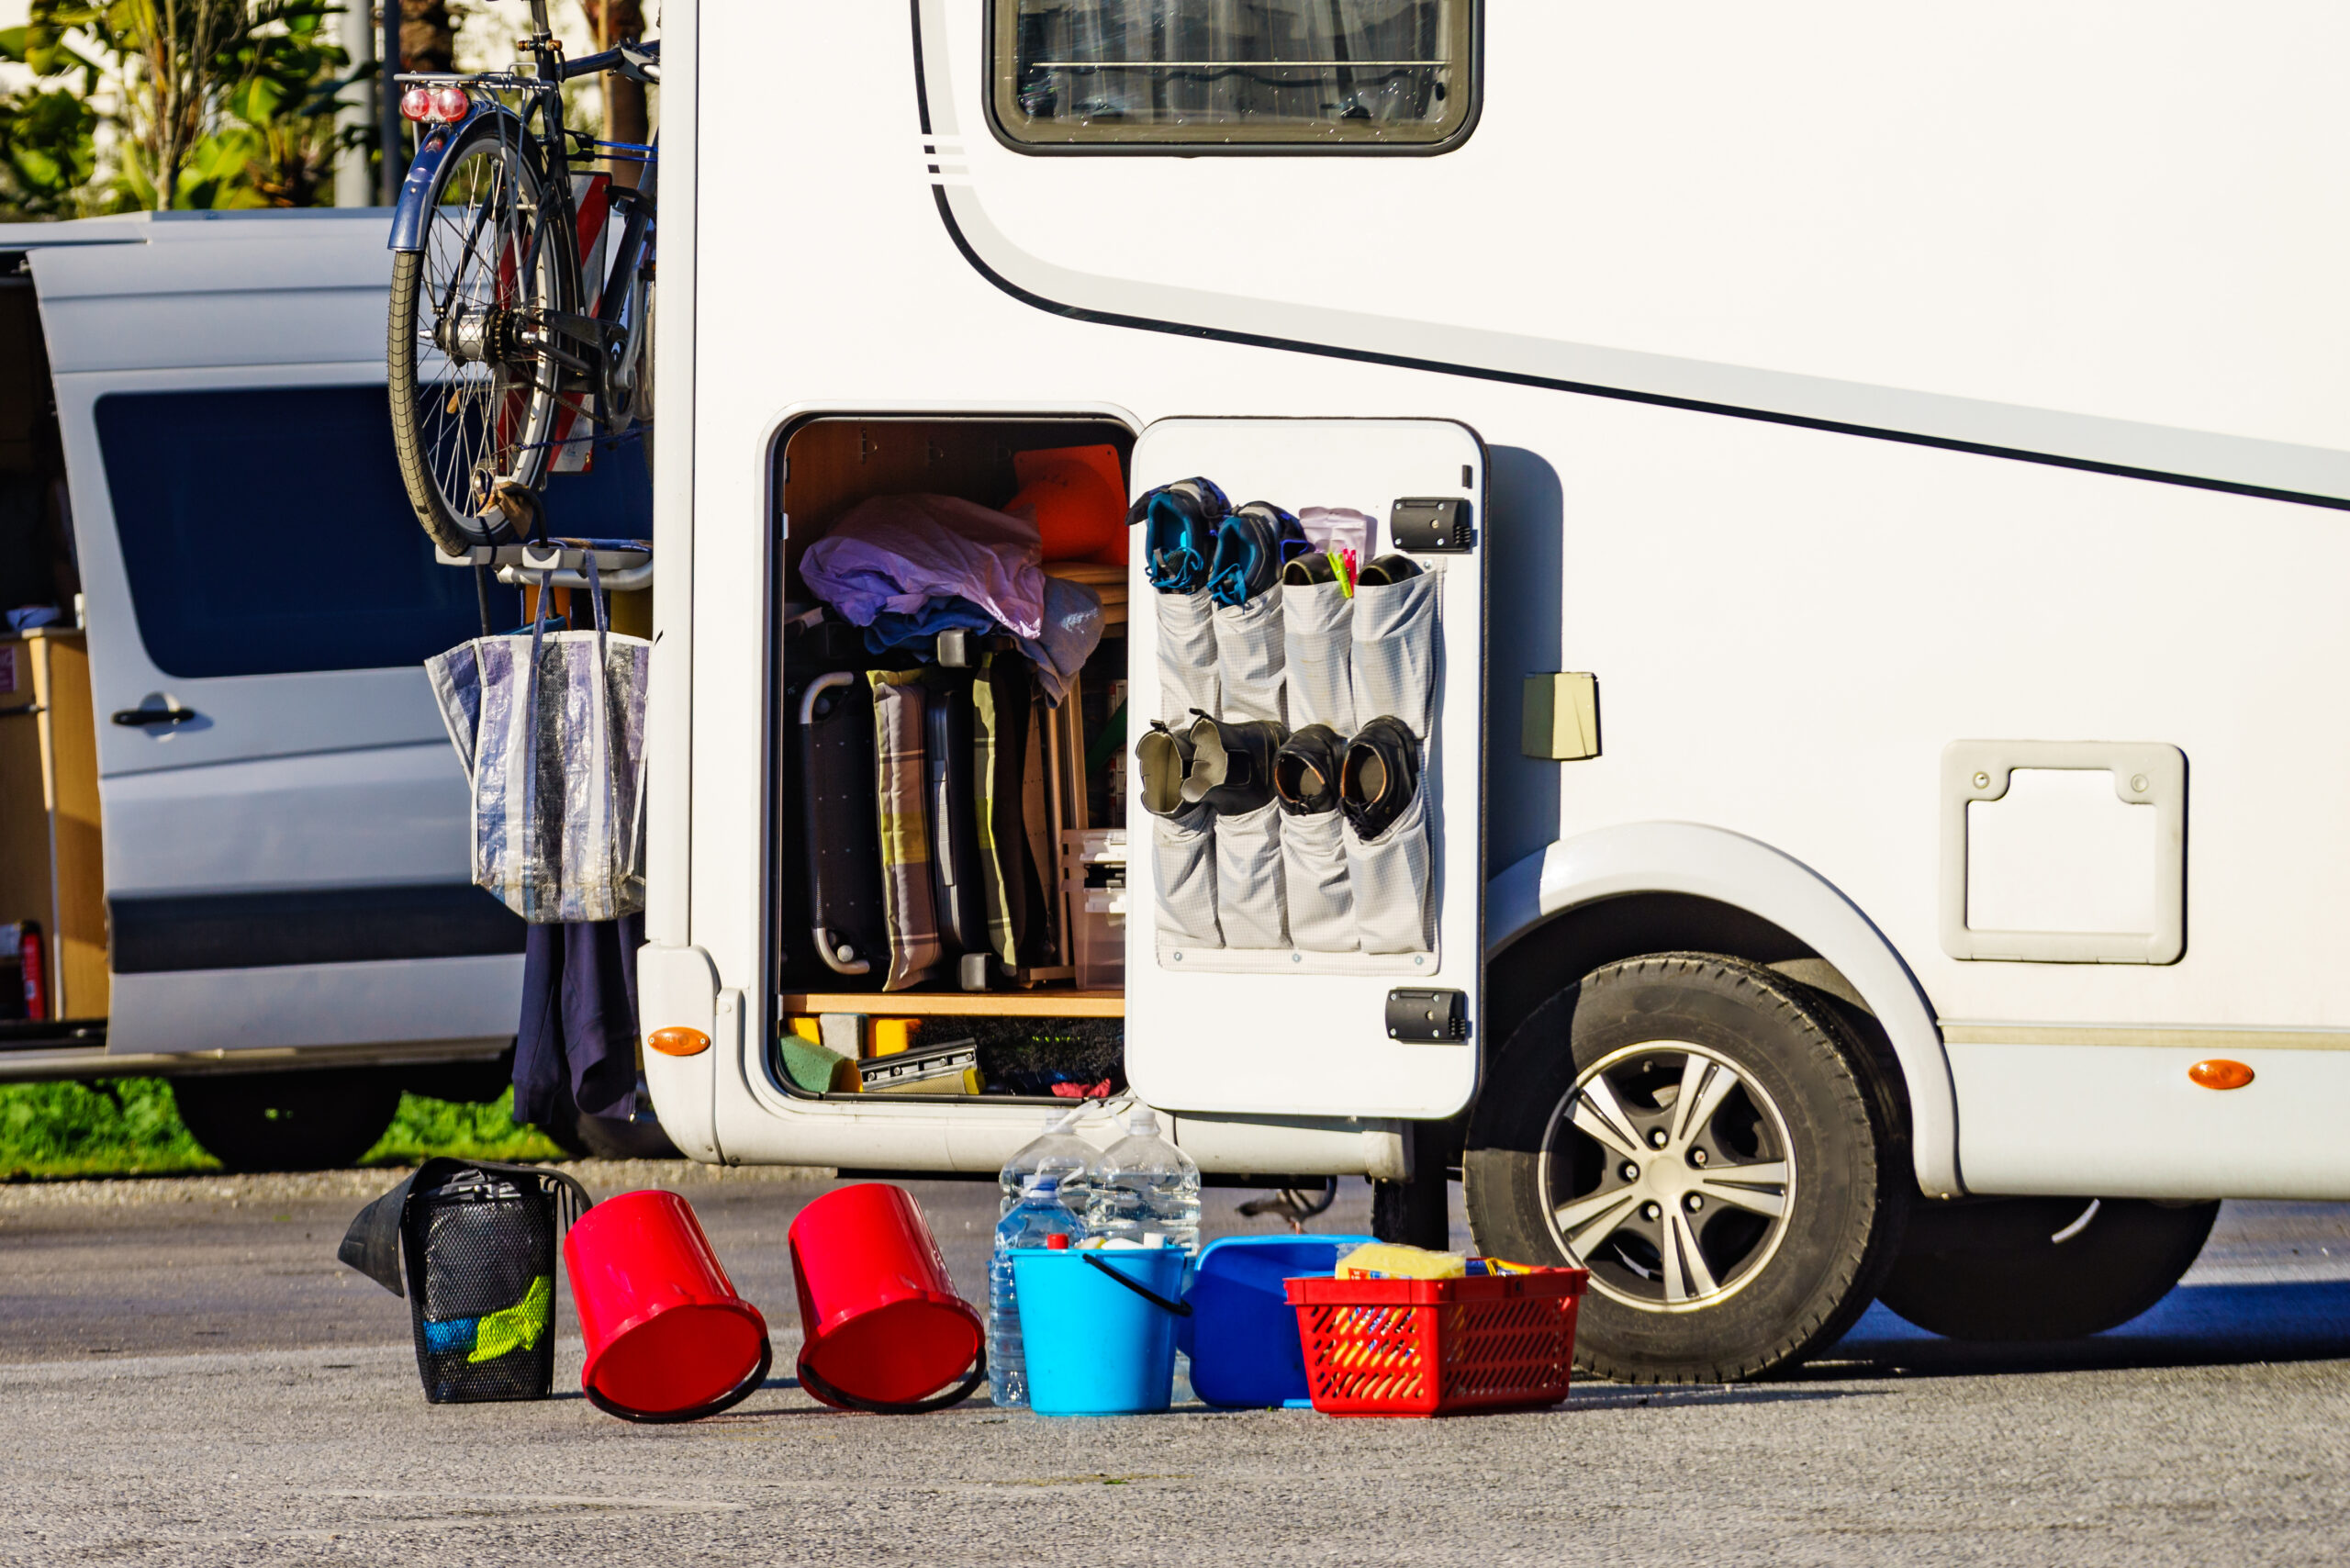
Now that the dewinterizing is complete, you can start thinking about packing up for your first camping trip of the season. But maybe you want to reorganize things first? This list can help you out. Otherwise, follow your routine – or start with ours – to get the RV organized and packed.