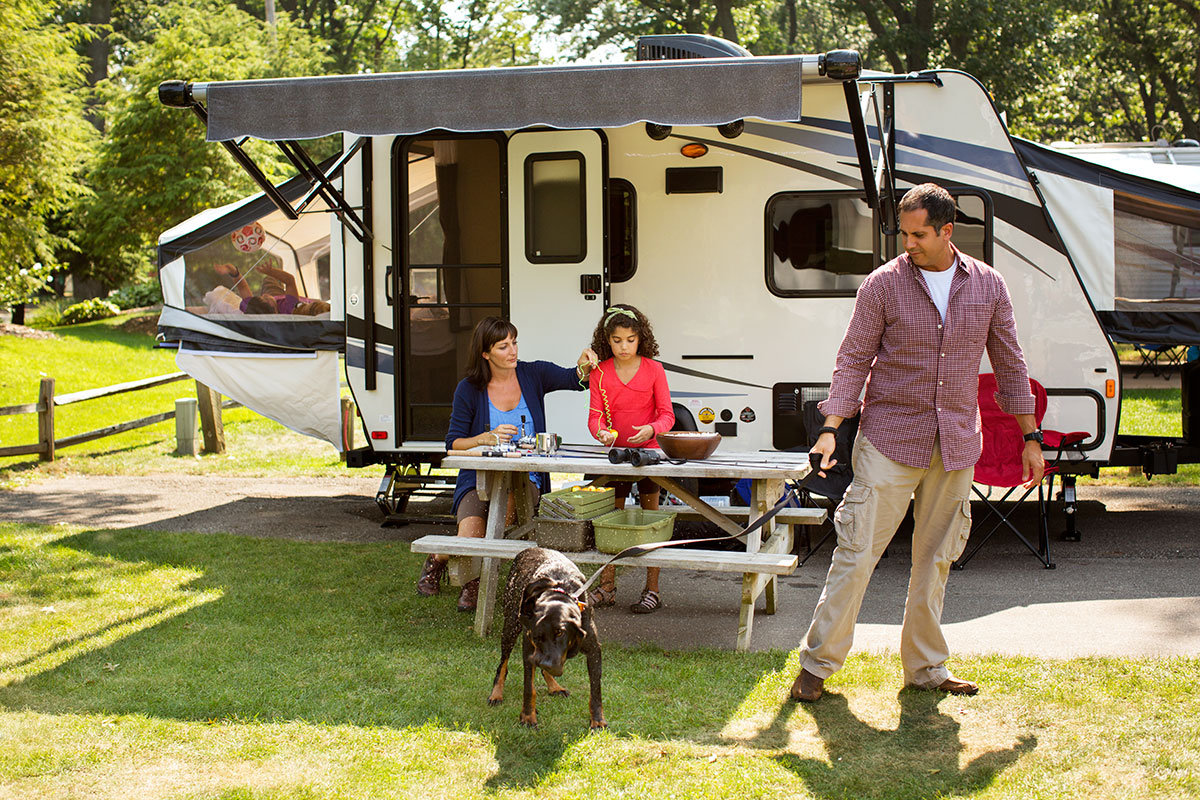
As an RV owner, it’s essential that your trailer or rig stays as clean and maintained as possible. This is important when the RV is in use – whether you’re camping or traveling – when it’s being stored long-term, or simply sitting around awaiting your next camping trip. Where you park your RV when it’s going to be stationary for a period of time matters to its overall “health.” For this article, we’ll be discussing considerations for creating a parking pad at home and at other properties at which you’ll be staying with your RV – or storing it.
Many RV owners simply park their trailers and motorhomes in the driveway or just off the side of the driveway when they aren’t being used for camping. Some people have the benefit of a being able to covered space, whether it’s a garage, barn, or carport. If you are fortunate enough to own property and like to travel there seasonally with your RV, you’ll need a space prepared there, too. Regardless of whether you own a travel trailer, fifth-wheel, camper van, popup, or sports utility RV, you need to make sure your “parking pad” is suited for your RV and helps to extend its life.
What considerations need to be made if you’re thinking about building your own parking pad at home or elsewhere? Well…
The space should be flat. This should go without saying, but where you park your RV should be relatively flat. Of course, the leveling jacks help make up for inconsistencies, yet you don’t want to be parked on the side of a hill. Check the surroundings for run-off areas, too. The flattest spot may be at the foot of a hill, but rain could spell trouble for your RV if it’s in the wrong spot. Finding a flatter spot is only part of the battle. Now you need to make sure it’s really level. This could require pushing dirt around and compressing it until it’s nice and firm. Road base has worked well for many RV owners. From there, it’s important to keep the area vegetation-free.
Material should fit the intended use. Pads and parking areas can be dirt, gravel, concrete, or paved. What you want to avoid is grass, weeds, stumps, field grass, and plant growth in general. For one, this vegetation invites insects and mice under your RV, which could then turn into a pest invasion. When it comes to materials, we’ve already mentioned road base, which has the benefit of being able to be compacted. Some RVers then cover this dirt base with gravel or pavers. You can add pavers just in front of the door if you want. Some RVers elect to have a concrete pad poured for more stability and less maintenance in the long run. Again, it depends on how often you’ll be using it and the typical weather conditions in your neck of the woods.
Obstacles should be removed. The air and ground should be free of obstructions and dangers. Take out any towering trees that could potentially fall on your RV during a storm or windy day, remove large rocks, or remove or grind down stumps that could ruin your RV’s undercarriage if they’re run into. You don’t want anything to hit your RV.
Covered space may be necessary. Covered space such as a carport or an awning can help protect your RV’s roof, thereby extending its life, as well as offer much-needed shade to help keep your RV cooler on hot days. If you park the RV in a barn, then covering the roof with moisture-wicking material will help keep dirt and debris from settling on the roof of your RV directly.
The space should protect the RV. Think of a parking pad as a protective bubble around your RV. It should be level and provide good drainage, especially if you also have an RV hookup. It’s important to make the pad a
When you visit a campground, RV park, or RV resort, usually your RV has a nice, flat space that’s obstacle-free on which to be stationed. If you build your own pad, that’s where your RV can be set up; stay level; offer good drainage or protection from rain; and remain separate from grass, weeds, and trees. It’s important to do it right the first time so that you have your refuge for years to come.