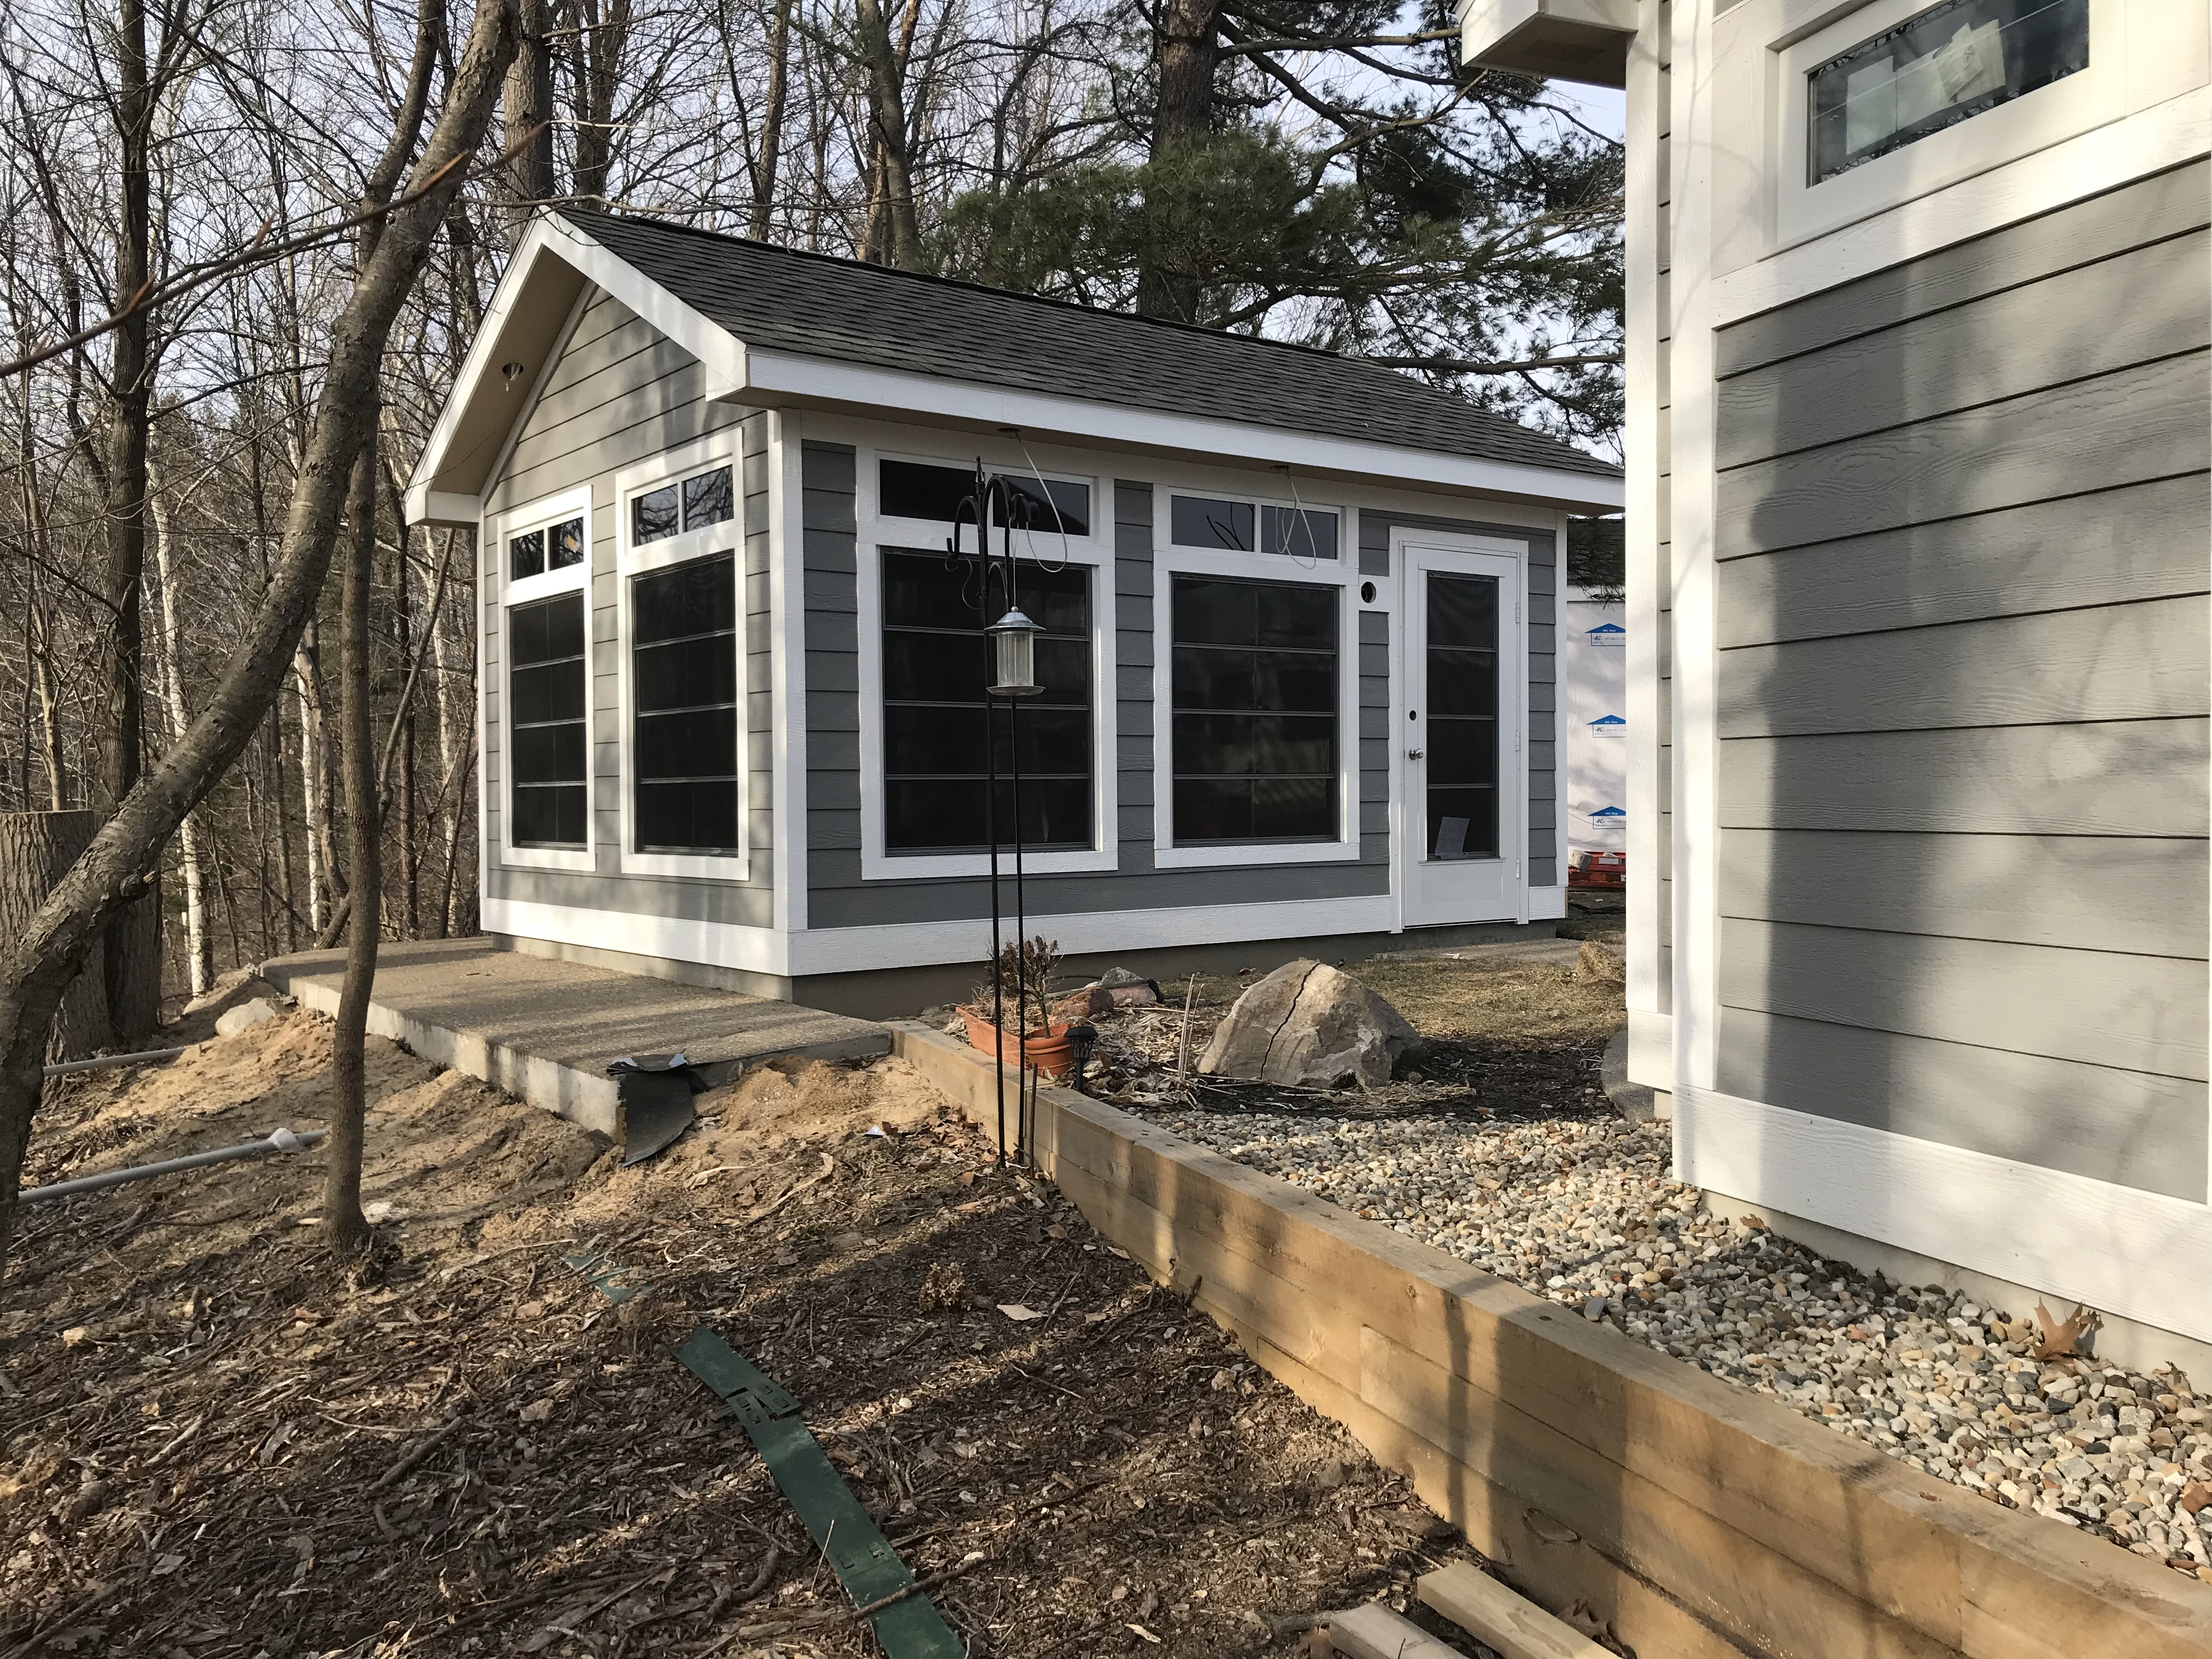
Whether you just recently purchased your lot or you’re looking to make some major upgrades this season, building a coach house is a worthwhile investment.
Finding information on the Internet and understanding where to even begin with this process can often be the hardest part. In this article, we break down the process step-by-step. In a second installment of this topic, we’ll provide real-life examples of the coach house building process – and the decisions the owners had to make.
Step 1: Meet with your Manager
Before becoming too emotionally invested in your vision, set up a meeting with your RV Park Manager to discuss the park or resort’s rules and restrictions. Most will have pre-established guidelines you’ll be expected to follow. These guidelines will dictate the size, height, location, and even color of your unit. They may also be able to recommend a contractor with experience building coach houses, so be sure to ask.
Step 2: Determine your Needs and Set a Budget
Once you have a clear understanding of what you are allowed to build, you then need to consider your budget and how you plan to use the space. Is it a guesthouse for when your friends and family come to visit? A storage unit for your lawn furniture during the off-season? Will it have a full bathroom and laundry?
Don’t be afraid to ask your neighbors for a tour of their coach houses, too. Chances are they’ll be thrilled to show off their space and willing to answer any of your questions. You might even fall in love with a feature you never thought of before.
Step 3: Meet with your Contractor
Once you have established your budget and your plan for the space, secure a meeting with your contractor. He’ll help you refine the plan and devise unique, space-saving solutions. Like your RV, space will be limited so you’ll want to use it wisely! While a tall ceiling is nice aesthetically, the space can be converted into a loft for extra storage, or even another sleeping space! Don’t be afraid to get creative.
Step 4: Design your Coach House
Before construction is too far underway, you’ll need to select your materials. If you’re building a bar area with a window that opens up to your lot, what kind of cabinets will you need? Depending on the dimensions of your coach house, these may need to be custom built.
What about the flooring and backsplash? Will there be an outdoor counter?
Will your lot be the go-to for neighborhood parties? Consider having outdoor lights and speakers built into your coach house to create a fun ambiance.
Step 5: Be Diligent and Patient
If you’ve ever built or remodeled a house, you already understand how long these projects can take. Construction can often last from the close of the season through the opening of the next.
And while you certainly don’t want to nag your builders, you’ll want to check in on the project from time to time. If you live too far away from your lot to stop by regularly, ask a local friend to swing by. If there is any deviation from your vision, you’ll want to catch it early on, before the construction has come to a close.
Step 6: Decorate!
Now comes the fun part! Secure fun, yet functional furniture. A foldout couch and Murphy bed are great options to consider. Ottomans with hidden storage are perfect for storing extra sheets and blankets while also adding more seating.
Have you heard of the latest tech craze? The Frame TV by Samsung is a great example of fun yet functional. When powered on, The Frame acts as a normal TV. But when off, it displays artwork, it looks like an actual framed photo. You can customize the display to show pictures you’ve taken yourself or your favorite Van Gogh. While this may be a splurge, it’s certainly something to consider.
Step 7: Relax and Enjoy
It’s time to plan a housewarming party! Invite your friends and neighbors over for a barbecue and a tour of your brand new coach house. They’ll be eager to see the final product.
Please share your experiences and advice in the comments section below – we’d love to read them!